Bubbles: how to prevent it
How to prevent epoxy bubbles: thin coats, correct rolling, slab moisture control, priming and the temperature window that stops solvent pop.
Epoxy bubbles are prevented by applying thin coats, rolling rather than pouring thick, priming porous slabs, testing moisture and working inside the product's temperature window. Solvent pop and moisture blisters look alike but need different controls.
- Coat thickness
- 8 - 12 mils per pass
- Temperature window
- 60 - 80 F
- Moisture mitigation
- $2 - $5 per square foot
- Priming
- On porous or young slabs
Some links on this page are affiliate links.If you buy through them we may earn a commission at no extra cost to you. We do not accept payment for rankings. Read the full disclosure.
Epoxy bubbles are prevented with four controls: thin coats, slow rolling, a primed slab, and a tested moisture reading. The two defects that look alike — solvent pop and moisture blisters — have different causes, so the first job is knowing which one you are preventing. Solvent pop is a technique problem; blisters are a slab problem.
Solvent pop versus moisture blisters
Solvent pop happens during cure. The surface skins over before the solvent in the coating can escape, and the vapor pushes through the skin, leaving small craters with raised rims. It appears within hours and is concentrated where the coat is thickest.
Moisture blisters happen after cure. Water vapor moves up through the slab, pressure builds at the interface, and the film lifts into a dome. It appears over days or weeks and is often scattered across the floor rather than concentrated.
The first is controlled by application. The second is controlled by testing and mitigation.
Control one: thin coats
A thick coat is the most common cause of solvent pop. The manufacturer’s coverage rate exists for a reason: at 8 to 12 mils per pass, the solvent has a short path out of the film. At 20 mils, the surface cures before the interior does.
Measure the coverage. A kit that covers 250 square feet at the stated rate covers 250 square feet, not 200 because the floor looked thin. Spreading the same material over a smaller area increases the film thickness and the risk.
Two thin coats also outperform one thick coat on adhesion, because each pass has a shorter cure and less internal stress.
Control two: roll slowly and in one direction
Fast rolling whips air into the film. A slow, steady pass with the correct nap roller lays the coating down without introducing bubbles, and back-rolling in one direction releases the air that is already there.
| Roller choice | Use | Note |
|---|---|---|
| 3/8 inch nap | Smooth epoxy | Standard for base coats |
| 1/4 inch nap | Thin sealers | Less air, less texture |
| Spike roller | Self-leveling coats | Releases trapped air |
| Woven cover | Solvent-based products | Resists shedding |
A roller that sheds fibers leaves them in the film, which is a different defect but just as visible. Cheap covers are a false economy on a floor that costs $5 to $12 per square foot. Change covers between coats and inspect the surface before the next pass.
Control three: prime the slab
Outgassing happens when air escapes from the concrete as the coating cures. Young slabs and porous concrete are the usual sources. A compatible epoxy primer seals the surface and gives the air a slower path, which prevents the pinholes.
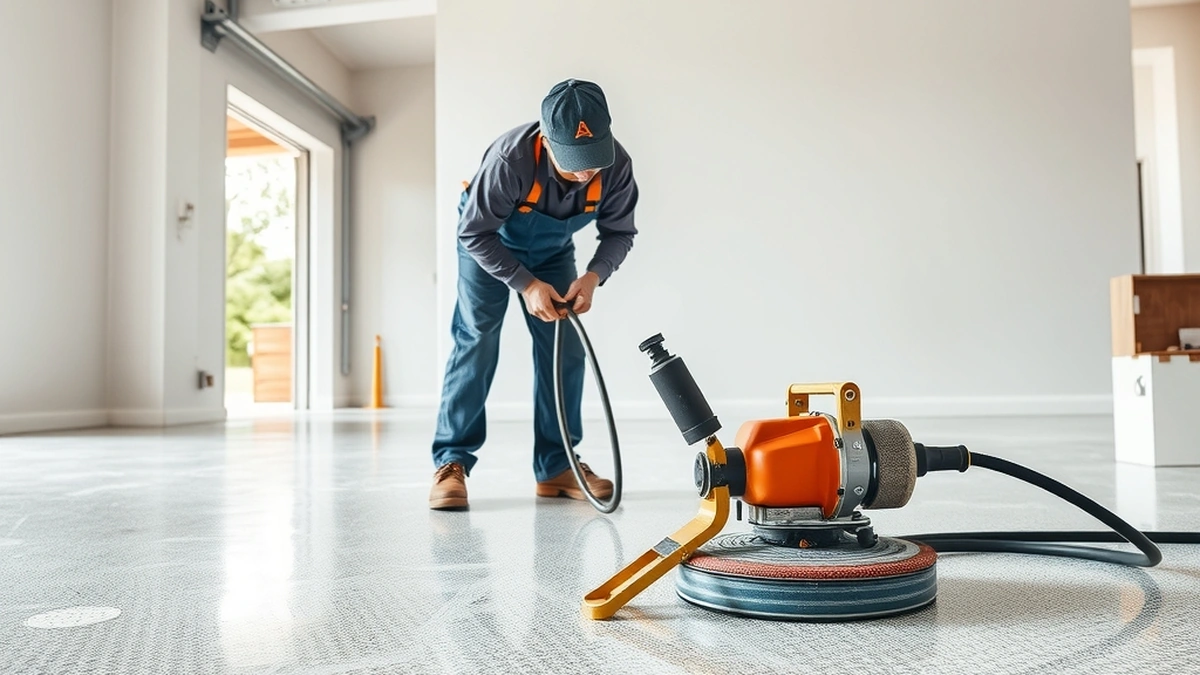
Priming is not a substitute for grinding. The slab still needs a diamond grind at $1 to $3 per square foot to open the profile and remove contamination. The primer goes on after the grind and the vacuum. On a slab younger than 28 days, outgassing is strongest, which is why most coating manufacturers specify a minimum cure age before any product goes down.
Control four: test and mitigate moisture
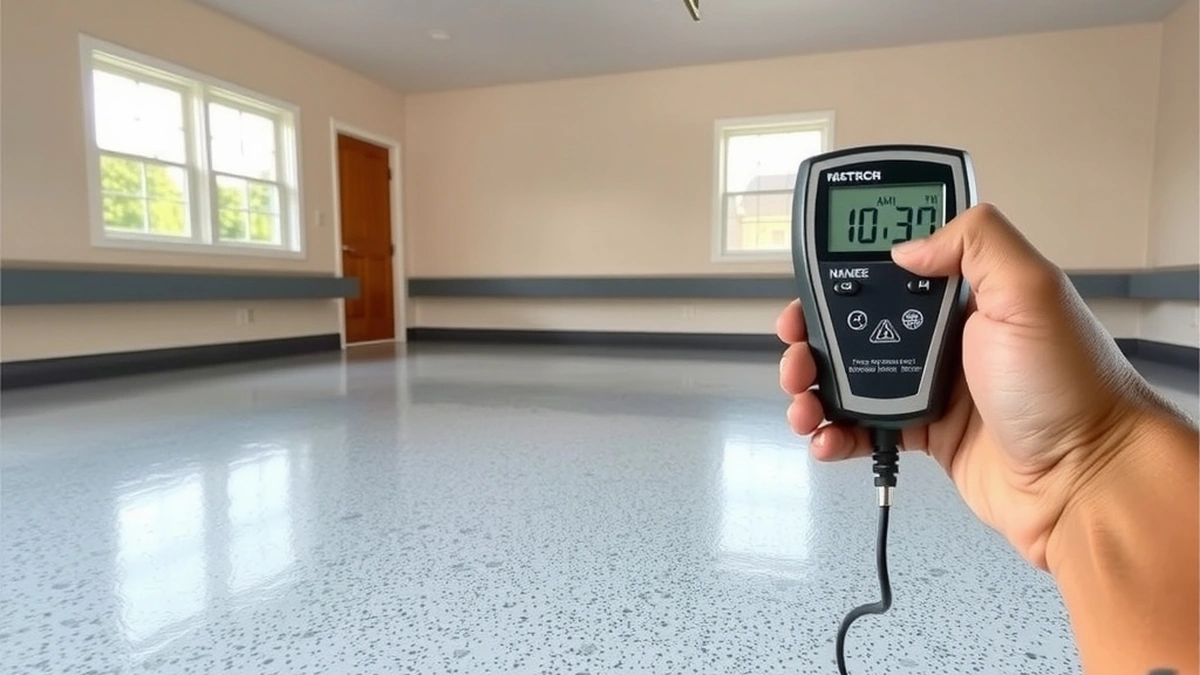
A moisture test before coating is the only way to know whether blisters are likely. A calcium chloride test or an in-situ relative humidity probe gives a number. Where the reading is high, mitigation at $2 to $5 per square foot is the fix.
On 400 square feet, mitigation at $3.50 is 400 × $3.50 = $1,400. A rebuild after blisters is $2,400 to $6,000. The mitigation is the cheaper number, and it happens once.
Temperature and humidity
Most residential epoxy products are formulated for 60 to 80°F. Above 85°F, the pot life shortens, the film skins quickly, and solvent gets trapped. Below 60°F, the reaction slows and the coating may stay soft for days, which invites other defects.
Humidity matters too. A damp, cool garage slows the cure and can cause amine blush, a waxy film on the surface that prevents the next coat from bonding. Ventilate, and avoid coating during a humid spell if the schedule allows.
The prevention checklist
- Grind the slab and vacuum with a HEPA filter.
- Test moisture and record the number.
- Prime porous or young concrete with a compatible epoxy primer.
- Apply the base at the stated coverage, in two thin passes if needed.
- Roll slowly and back-roll to release air.
- Keep the garage between 60 and 80°F during application and cure.
- Inspect after 24 hours and mark any craters before the topcoat goes on.
That last step matters. A pinhole found before the topcoat is a sanding job; a pinhole under a cured topcoat is a repair.
What prevention costs against repair
A 400 square foot floor at $8 per square foot is $3,200. Grinding at $2 is $800. Mitigation at $3.50 is $1,400 where needed. The total with mitigation is $5,400, and without it $4,000.
A blister repair on the same floor is $2,400 to $6,000, and it does not include the original installation. Preventing the defect is cheaper than fixing it, and the controls are mostly technique rather than material.
If bubbles have already appeared, the repair options guide explains how to identify the type, the cost breakdown shows the arithmetic, and the warning signs guide covers what to photograph before calling a contractor.
Frequently asked questions
What causes small bubbles in epoxy?
Solvent pop, from a coat applied too thick or in high heat, and outgassing, from air escaping the concrete. Both are prevented by thinner coats and a primer.
Does rolling too fast cause bubbles?
Yes. Fast rolling whips air into the film. A slow, steady pass with a proper nap roller releases air rather than trapping it.
How do I stop moisture blisters?
Test the slab and mitigate at $2 to $5 per square foot where readings are high. No coating technique prevents vapor pressure from below.
Should I use a spike roller?
A spike roller releases trapped air in a self-leveling coat. It helps with outgassing but does not fix a wet slab or an over-thick application.
What temperature is too hot for epoxy?
Above about 85°F, the pot life shortens and the film skins fast, which traps solvent. Most residential products are formulated for 60 to 80°F.
Can I recoat over bubbles?
Only after the blistered film is removed and the surface is sanded flat. A recoat over an intact bubble leaves a raised spot under the new film.
Sources
Some links are affiliate links.If you buy through them we may earn a commission at no extra cost to you. We do not accept payment for rankings. Read the full disclosure.