Bubbles on Epoxy Garage Floors: Repair Options
Fixing bubbles in your epoxy garage floor requires understanding the cause and choosing the right repair method.
Fixing bubbles in an epoxy garage floor starts with identifying the cause. Moisture-induced bubbles require moisture mitigation ($2-$5/sq ft) followed by repouring.
- Typical range
- Varies by system and site
- First step
- Measure the space and confirm the load
- Professional help
- Recommended for structural or electrical work
Some links on this page are affiliate links.If you buy through them we may earn a commission at no extra cost to you. We do not accept payment for rankings. Read the full disclosure.
Bubbles in an epoxy garage floor are a common problem, but they do not have to be permanent. They occur when air or moisture gets trapped between the epoxy and the concrete substrate, breaking the seal. The good news is that most bubble issues can be resolved by addressing the root cause—usually moisture or poor preparation—before applying new coating. If you ignore them, the bubbles will continue to expand and eventually delaminate, exposing the raw concrete underneath. Fixing bubbles requires a methodical approach, starting with diagnosis and moving through mechanical removal and repouring.
Identifying the Source of the Bubble
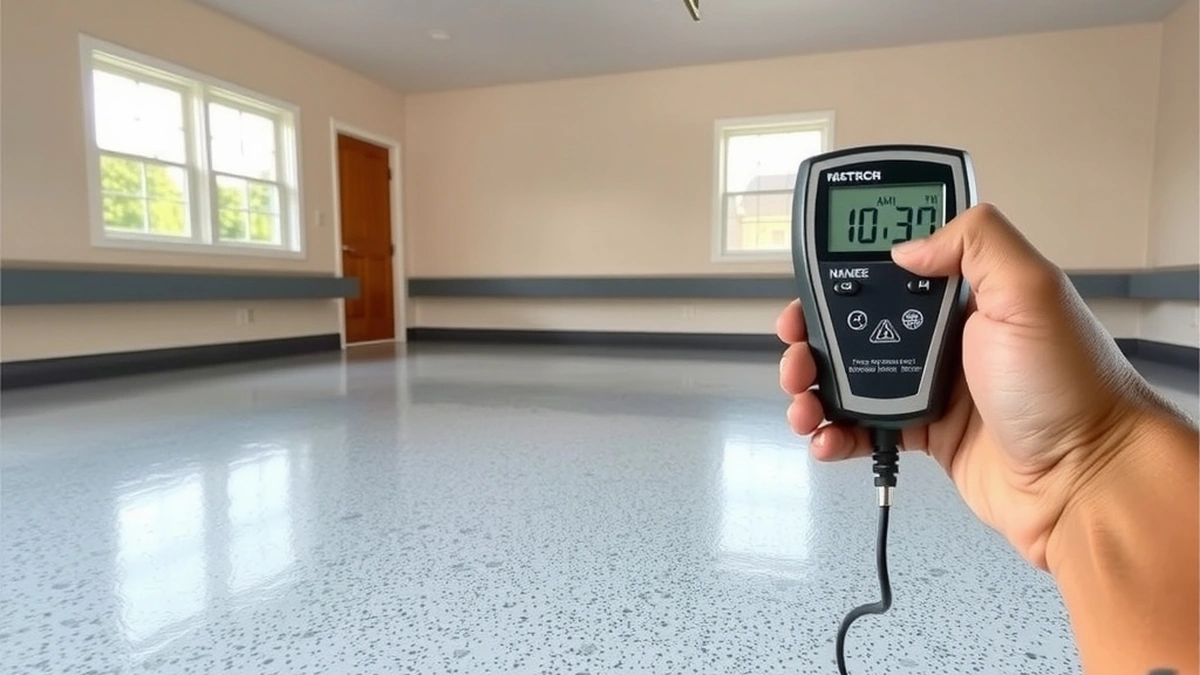
Before selecting a repair method, you must determine why the bubbles formed. There are two primary causes: moisture infiltration and poor surface preparation. Moisture-induced bubbles happen when water vapor pressure forces air into the epoxy layer, lifting it away from the concrete. Poor prep bubbles occur when the concrete substrate is too dirty, oil-stained, or unsealed, preventing the epoxy from bonding correctly. Identifying the root cause dictates the entire repair strategy. You cannot simply patch a bubble caused by moisture; you must stop the water from getting in again. Conversely, a bubble caused by poor prep means the existing epoxy has failed to bond, requiring physical removal of the flawed layer.
Moisture Mitigation as the Foundation
If moisture is the culprit, repouring epoxy over the existing bubbles will guarantee they return. You must eliminate the moisture source first. This involves installing a drainage system, sealing cracks, and applying a moisture mitigation barrier. The cost for this step runs between $2 and $5 per square foot. For a standard 600 square foot section of your garage, the arithmetic is straightforward: $2 multiplied by 600 equals $1,200, and $5 multiplied by 600 equals $3,000. Skipping this step guarantees future bubbling regardless of the coating you choose. For more details on how these base costs scale, visit How Much Does Epoxy Garage Floor Cost.
Grinding Out the Damaged Layer
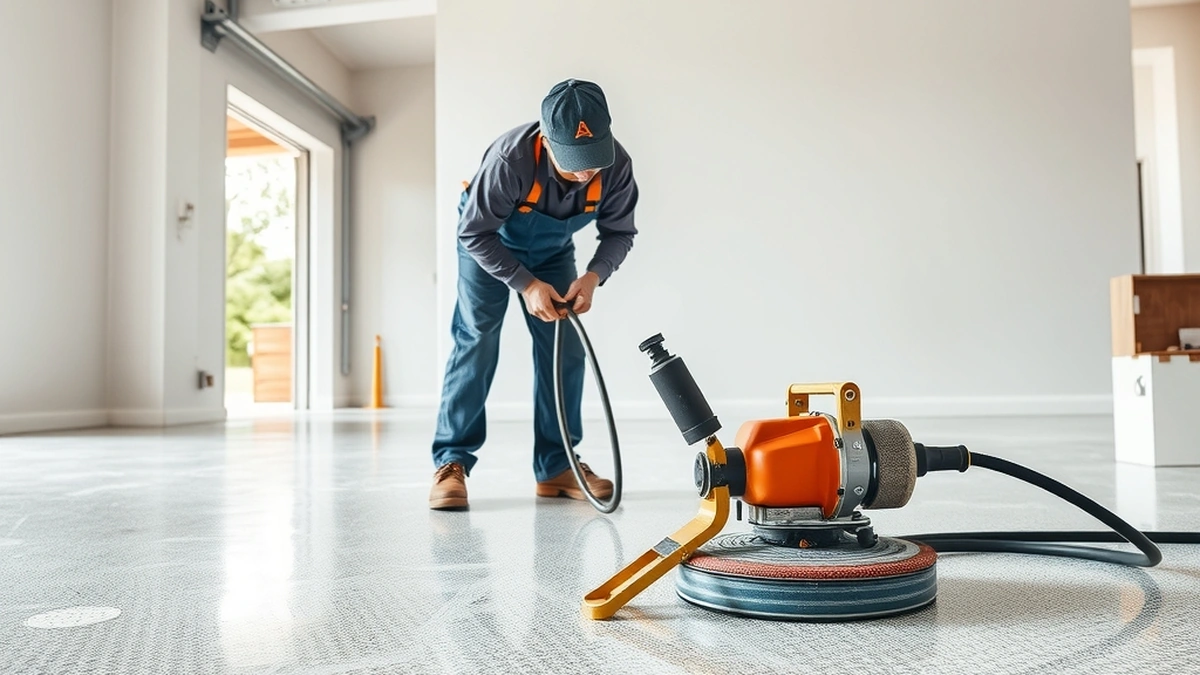
When bubbles are caused by poor preparation or physical damage to the floor, the epoxy has lost its structural bond with the concrete. In these cases, you must mechanically remove the compromised epoxy layer. Concrete grinding is the standard method for this task. The grinder abrades the concrete down to sound, clean substrate, eliminating the bubbles and creating a rough surface for the new coating to grip. The cost for concrete grinding ranges from $1 to $3 per square foot. For a 600 square foot area, grinding alone costs between $600 and $1,800. Once the damaged layer is removed, the floor is ready for a new, properly bonded coat. You can learn more about the installation process on our Epoxy Garage Floor Installation page.
Repouring with Professional Epoxy
After preparing the concrete through grinding, you apply a new epoxy system. Professional epoxy provides a robust, chemical-resistant topcoat that seals the floor effectively. The cost for professional epoxy application ranges from $5 to $12 per square foot. Adding this to the grinding costs for a 600 square foot area yields a total repair range of $3,600 to $9,000 ($600 to $1,800 for grinding plus $3,000 to $7,200 for epoxy). This method reliably fixes bubbles caused by poor prep, provided the concrete substrate beneath was clean and dry.
Choosing Polyaspartic for Superior Adhesion
While standard epoxy works well, some contractors prefer polyaspartic systems for garage floors because they cure much faster and offer superior UV resistance. Polyaspartic systems cost between $8 and $15 per square foot. For a 600 square foot area, replacing the epoxy with polyaspartic costs between $4,800 and $9,000. Because polyaspartic cures quickly, it minimizes the risk of extended exposure to environmental stressors that can cause bubbling. If you want to compare polyaspartic options directly, see our Epoxy Garage Floor vs Polyaspartic Coating guide.
Metallic Epoxy for Cosmetic Repairs
Metallic epoxy is another option, costing between $10 and $20 per square foot. While it adds aesthetic appeal with metallic flake pigments, it does not inherently fix adhesion issues. If your bubbles were caused by moisture or poor prep, applying metallic epoxy over them will result in immediate failure. Metallic epoxy is best reserved for cosmetic touch-ups on floors that have already been successfully repaired with a standard epoxy or polyaspartic system. For information on the best finishes available, check out Best Epoxy Garage Floor.
DIY Kits and Budget Constraints
If budget is a primary concern, DIY epoxy kits are available for $3 to $7 per square foot. However, these kits require extensive labor and skill to apply correctly. Attempting to repair deep bubbles yourself is risky; without industrial grinders and proper moisture testing, you are likely to replicate the original problem. DIY kits are best suited for small, shallow surface imperfections rather than structural bubble repairs. For those attempting a DIY project, our DIY Epoxy Garage Floor page offers guidance on preparation.
Preventing Future Bubbles Through Maintenance
Once a bubble repair is completed, maintaining the floor is critical to preventing recurrence. Regular sweeping, occasional mopping with damp mops, and prompt spill cleanup keep oils and dirt off the surface. Inspecting the floor annually for new bubbles or soft spots allows you to address minor issues before they become major problems. Consistent maintenance extends the life of your repair and keeps your garage looking its best. For routine care tips, explore Epoxy Garage Floor Maintenance.
Repair Options Summary
The following table summarizes the repair options, their root cause alignment, and estimated costs for a 600 square foot section:
| Repair Step | Primary Purpose | Cost Range (per sq ft) | Total Cost (600 sq ft) |
|---|---|---|---|
| Moisture Mitigation | Stop water infiltration | $2 - $5 | $1,200 - $3,000 |
| Concrete Grinding | Remove damaged layer | $1 - $3 | $600 - $1,800 |
| Professional Epoxy | Bond to concrete | $5 - $12 |
Next, compare how much does epoxy garage floor cost, epoxy garage floor installation, epoxy garage floor repair before you commit.
Frequently asked questions
What causes bubbles in an epoxy garage floor?
Bubbles typically form when moisture vapor pressure exceeds the adhesive bond's capacity, causing the epoxy to lift off the concrete substrate.
How much does moisture mitigation cost per square foot?
Moisture mitigation generally costs between $2 and $5 per square foot, depending on the size of the area and the testing methods used.
Can I fix bubbles myself using a DIY epoxy kit?
A DIY epoxy kit costs $3 to $7 per square foot, but fixing deep bubbles usually requires professional installation to ensure proper adhesion and structural integrity.
How much does it cost to grind a bubble out of an epoxy floor?
Concrete grinding costs about $1 to $3 per square foot, which removes the damaged layer so the new coating can adhere properly to the concrete.
When should I choose a polyaspartic system over epoxy for a bubble repair?
Choose polyaspartic ($8-$15/sq ft) if you need faster cure times and better UV resistance, which often helps prevent future bubbling in sun-exposed areas.
Is a metallic epoxy a good option for repairing bubbles?
Metallic epoxy ($10-$20/sq ft) is an option for cosmetic repairs but does not inherently fix underlying adhesion issues, so it should only be used after proper substrate preparation.
Sources
Some links are affiliate links.If you buy through them we may earn a commission at no extra cost to you. We do not accept payment for rankings. Read the full disclosure.