Concrete floor coating
Concrete floor coating: practical numbers, costs, and trade-offs, written independently.
Concrete floor coating: practical numbers, costs, and trade-offs, written independently. The guide below shows the numbers and the trade-offs.
- Typical range
- Varies by system and site
- First step
- Measure the space and confirm the load
- Professional help
- Recommended for structural or electrical work
Some links on this page are affiliate links.If you buy through them we may earn a commission at no extra cost to you. We do not accept payment for rankings. Read the full disclosure.
A concrete floor coating is a resin layer bonded to a prepared slab, and the coating is the least important part of the job. Grinding, crack repair and a moisture test decide whether the floor lasts; the product decides only how it looks, how it handles chemicals and how much it costs. On a 400 sq ft garage, plan on $2,000–$4,800 installed, or $1,600–$4,000 DIY with the grinding hired out.
What a concrete floor coating is
A concrete floor coating is a seamless resin film — epoxy, polyaspartic, polyurethane or a hybrid — applied over mechanically prepared concrete to seal the surface against water, salts, oils and abrasion.
It is not paint. Paint forms a thin film on the surface and relies on a mechanical key that concrete rarely provides for long. A coating is built in layers, bonds chemically and mechanically, and reaches a film thickness measured in mils. That is why preparation decides the outcome: a coating over a dirty or damp slab fails while the same product over a prepared slab lasts years.
Preparation comes before product
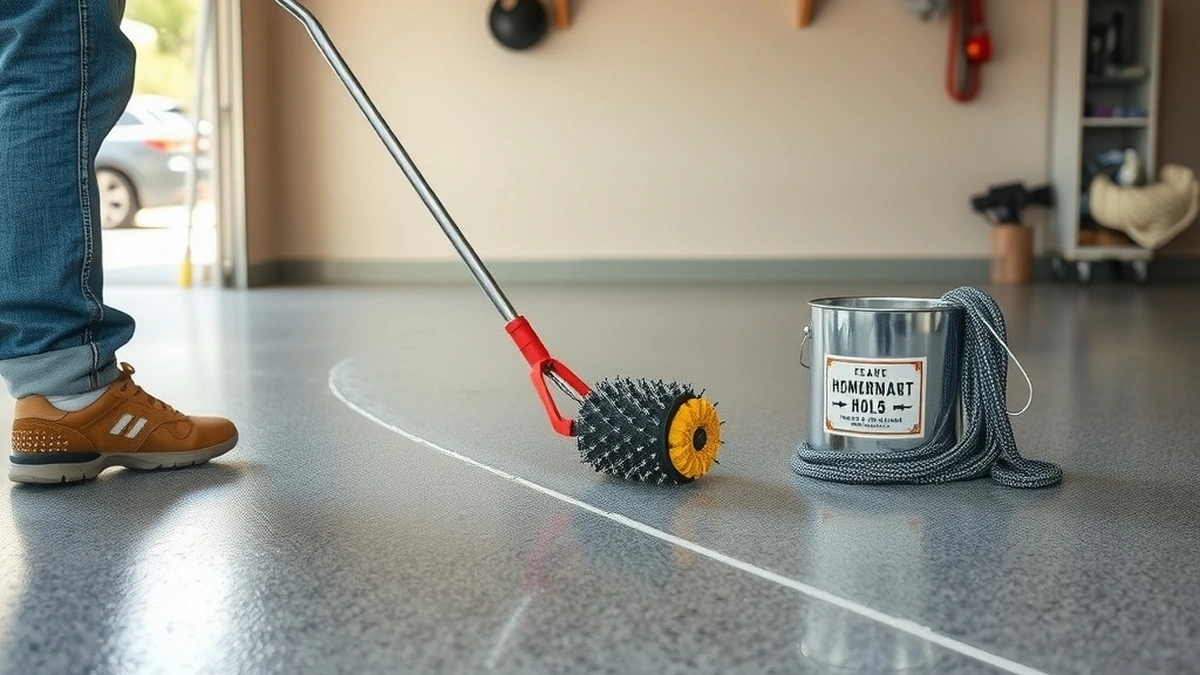
Diamond grinding removes curing compounds, old sealer, adhesive, paint and the weak top layer of cement paste, and opens the pores so the primer can bond. It costs $1–$3 per sq ft: $400–$1,200 on 400 sq ft, $250–$750 on 250 sq ft.
Cracks and spalls are repaired after grinding, not before. A crack filled over dust behaves differently from one filled and ground flush. Oil spots need degreasing and often grinding back to clean concrete, because no primer bonds to contaminated substrate.
Acid etching is sometimes offered as a cheaper alternative. It does not profile the surface evenly, leaves residue that must be neutralized, and does not remove existing coatings. On a slab that has held cars for 20 years, grinding is the more reliable start.
Test the slab before you buy anything
Moisture is the most common reason a coating peels, blisters or turns cloudy. Concrete is porous, and a slab poured on soil without a vapor barrier can pass vapor upward for years. The coating traps it, and the pressure lifts the film from underneath.
Three tests are in common use:
- A plastic sheet test: tape a 2 ft × 2 ft sheet of polyethylene to the slab for 24 hours and check for condensation or a dark, damp patch.
- A calcium chloride test, which measures the moisture vapor emission rate over 60–72 hours.
- An in-situ relative humidity probe, which measures conditions inside the slab.
Each product data sheet lists a maximum moisture vapor emission rate or relative humidity limit. Read that number for the exact product, because the limits are not interchangeable between manufacturers or between epoxy and polyaspartic systems. If the slab fails, the choice is a moisture mitigation primer or a vapor barrier — and that decision comes before color.
Coating types and cost per square foot
| System | Installed cost | Best suited to |
|---|---|---|
| Epoxy kit, DIY | $3–$7 per sq ft | One-car garages, light traffic, a first project |
| Professional epoxy | $5–$12 per sq ft | Daily parking, chemical spills, a floor that must last |
| Polyaspartic | $8–$15 per sq ft | Fast return to service, UV exposure, cold weather installs |
| Metallic epoxy | $10–$20 per sq ft | Decorative finishes on a flat, well-prepped slab |
The professional rate includes grinding, primer, base coat and topcoat. The DIY kit rate covers materials only, so the two are not directly comparable: DIY still needs $1–$3 per sq ft of grinding, plus crack filler, primer and often a topcoat. Add mitigation at $2–$5 per sq ft and the gap narrows.
A worked budget for a 400 sq ft garage
Professional epoxy at $5–$12 per sq ft on 400 sq ft:
- Low: 400 × $5 = $2,000
- High: 400 × $12 = $4,800
DIY epoxy kit at $3–$7 per sq ft plus hired grinding at $1–$3 per sq ft on the same slab:
- Low: (400 × $3) + (400 × $1) = $1,200 + $400 = $1,600
- High: (400 × $7) + (400 × $3) = $2,800 + $1,200 = $4,000
Add moisture mitigation at $2–$5 per sq ft if the slab fails:
- Low: 400 × $2 = $800
- High: 400 × $5 = $2,000
That puts a professional job with mitigation at roughly $2,800–$6,800, and a DIY job with mitigation at roughly $2,400–$6,000. The top of that range is why the moisture test belongs before the budget, not after the quote. These are planning estimates; a quote for your slab is the only number that counts.
Applying the system in order
The sequence is fixed, and skipping a step does not save money — it moves the cost to removing a failed floor later.
- Clear the garage, sweep and degrease every oil spot; let the slab dry.
- Grind the entire surface with a diamond grinder and dust collection, including the edges and the stem wall.
- Vacuum thoroughly, then fill cracks and spalls with an appropriate repair mortar and grind the patches flush.
- Run the moisture test and, if needed, apply the mitigation primer and let it cure per the data sheet.
- Apply the primer, base coat and topcoat in the manufacturer’s window times, broadcasting flake or aggregate while the base is wet if the system calls for it.
- Keep traffic off for the full cure time — often 24 hours for foot traffic and 3–7 days before parking.
Ventilation and PPE matter: the amines in a closed garage are not something to breathe for an afternoon. Open the doors, wear a respirator rated for the product, and keep the space clear.
Maintenance and recoating
A coated floor is easy to live with: sweep regularly, mop with mild detergent, and clean up oil and road salt before they sit. Avoid acidic cleaners, which dull the topcoat, and metal-edged equipment dragged across the surface.
Inspect the edges, the stem wall and the area under the tires once a year. A small chip can be patched before it spreads, and a topcoat worn through in the traffic lanes can be recoated without removing the system. Our guide to epoxy garage floor maintenance covers the cleaning products and the recoating interval.
Choosing between a kit and a contractor
A kit suits a small, dry, sound slab and a homeowner comfortable with a grinder and a strict schedule. A contractor is better when the slab is large, cracked, damp or covered with an old coating, and the floor has to work on the first attempt.
Ask for the moisture test result, the products by name, the number of coats and the cure window in writing. A quote that lists a price per square foot but not those four items is not comparable. For cost by garage size, see epoxy garage floor cost and the per-square-foot breakdown; for the install sequence from a contractor’s side, see epoxy garage floor installation.
Frequently asked questions
What is the most important measurement?
Start with the ceiling or clearance number; it decides which systems can fit.
What does a typical project cost?
Costs vary by system and site access; the guide shows the line items and a planning range.
Can I install this myself?
Some tasks are DIY-friendly, but structural, electrical, and load-bearing work should be done by a licensed professional.
How long does installation take?
A simple setup is a weekend; a full build with electrical or structural work can take several weeks.
What should I check before buying?
Confirm dimensions, load ratings, and the manufacturer's installation requirements for your exact model.
Where can I find local help?
Ask a licensed contractor or installer who has worked with the same system and can inspect your site.
Sources
Some links are affiliate links.If you buy through them we may earn a commission at no extra cost to you. We do not accept payment for rankings. Read the full disclosure.