Epoxy Garage Floor Installation: What It Involves
A practical breakdown of epoxy garage floor installation steps, prep requirements, moisture testing, and realistic costs for DIY and professional work.
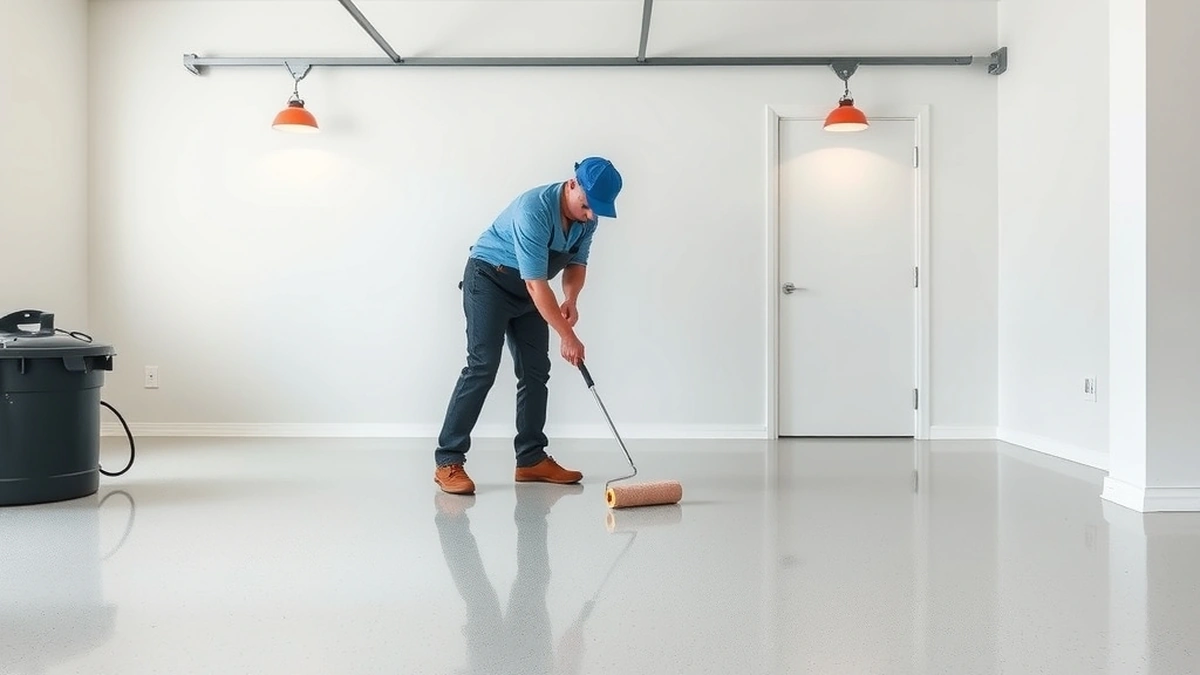
Epoxy garage floor installation involves surface prep, moisture testing, repairs, primer, base coat, optional flakes, and topcoat, typically over 2–5 days.
- Typical DIY material cost
- $3–$7 per sq ft
- Professional installed cost
- $5–$12 per sq ft
- Concrete grinding
- $1–$3 per sq ft
- Moisture mitigation
- $2–$5 per sq ft
- Active working time
- 2–5 days
Some links on this page are affiliate links.If you buy through them we may earn a commission at no extra cost to you. We do not accept payment for rankings. Read the full disclosure.
Epoxy garage floor installation is a multi-stage coating process applied to a prepared concrete slab. It starts with surface evaluation and moisture testing, not with opening a product can. The actual coating goes down only after the concrete is clean, sound, dry, and mechanically profiled.
Most homeowners should expect the full job to take two to five days of active work, followed by several days of cure before the garage returns to regular service. Skipping prep or ignoring moisture readings is the most common reason coatings fail within the first year.
1. Site Evaluation and Slab Condition
Installation begins with a walkthrough of the garage. The installer checks for cracks, spalling, oil stains, previous coatings, and drainage issues. Any existing sealer or paint must be removed or mechanically abraded because epoxy will not bond to a contaminated or sealed surface.
Concrete must be structurally sound. Small shrinkage cracks are common and can be filled, but active structural cracks or heaving slabs need repair before coating. If the slab has been previously coated with an incompatible product, removal adds time and cost.
2. Moisture Testing First
Moisture is the leading cause of epoxy failure. Water vapor moving up through a slab creates hydrostatic pressure that pushes coatings off the concrete. Before any product is purchased, the installer should test moisture vapor emission using a calcium chloride test or in-situ relative humidity probe, following ASTM methods where applicable.
If moisture levels exceed the coating manufacturer’s limits, a moisture mitigation system is required. This can add $2–$5 per square foot to the project. Installing standard epoxy over damp concrete without mitigation will likely result in blistering, peeling, or delamination within months.
3. Surface Preparation
Prep determines whether the floor lasts five years or fifteen. The two main methods are diamond grinding and shot blasting. Both open the concrete pores and create a mechanical profile for the epoxy to grip.
Acid etching is sometimes used by DIYers, but it is less reliable than mechanical profiling and produces chemical runoff that must be neutralized and disposed of properly. For a 500-square-foot garage, grinding typically costs $500–$1,500 at $1–$3 per square foot, depending on regional labor rates and slab hardness.
After grinding, the floor is vacuumed and tacked to remove dust. Oil spots are degreased, and any patching compound is allowed to cure fully.
4. Crack and Surface Repairs
Before coating, cracks and spalls are filled with an epoxy or polyurea patching compound matched to the system. Repairs must be flush with the surrounding concrete so they do not telegraph through the finish. Large repairs may need to cure overnight before the next step.
5. Primer Application
A primer coat seals the concrete and improves adhesion for the base coat. It also helps reduce pinholes and outgassing, which happens when air trapped in the concrete expands during temperature changes and pushes through the wet epoxy.
Primer is usually rolled on in a thin, even layer. Coverage rates vary by product, but a two-car garage often requires two to four gallons of primer depending on concrete porosity.
6. Base Coat and Optional Decorative Flakes
The base coat is the structural epoxy layer. It is mixed from two components—resin and hardener—and has a limited pot life, often 30 to 60 minutes at 70°F. Once mixed, it must be applied before it begins to kick.
If the design includes decorative vinyl flakes, they are broadcast into the wet base coat at partial or full refusal. Excess flake is removed after the coat gels, and the floor is swept or vacuumed before the next layer.
7. Topcoat and Cure
A clear or pigmented topcoat seals the system and provides wear resistance. Some installations use a single topcoat; others use two for added thickness and gloss. The topcoat is where UV stability and chemical resistance are most important, especially if the garage door stays open during the day.
Cure times depend on temperature and product chemistry. Light foot traffic is often possible after 24 hours. Vehicle traffic usually requires five to seven days. Returning the garage to service too early can leave tire marks or soft spots in the finish.
8. Cost Breakdown
Costs vary widely by region, garage size, and slab condition. The figures below are estimates, not quotes.
| Item | Estimated Cost |
|---|---|
| DIY epoxy kit materials | $3–$7 per sq ft |
| Professional epoxy installation | $5–$12 per sq ft |
| Concrete grinding | $1–$3 per sq ft |
| Moisture mitigation | $2–$5 per sq ft |
| Polyaspartic system | $8–$15 per sq ft |
| Metallic epoxy | $10–$20 per sq ft |
Example arithmetic for a standard 24-foot by 24-foot two-car garage:
- Area: 24 ft × 24 ft = 576 sq ft
- Professional epoxy at $5–$12 per sq ft: $2,880–$6,912
- Add grinding at $1–$3 per sq ft: $576–$1,728
- Add moisture mitigation at $2–$5 per sq ft: $1,152–$2,880
- Total range with grinding and mitigation: roughly $4,608–$11,520
A DIY kit for the same 576-square-foot garage might cost $1,728–$4,032 in materials, plus tool rental or purchase. That excludes the value of your time and the risk of improper mixing or application.
DIY vs. Professional Installation
DIY epoxy kits are widely available and can work on dry, well-prepared slabs in small garages. The main challenges are moisture testing, proper mixing, working within pot life, and achieving uniform thickness. Mistakes are hard to fix once the epoxy begins to cure.
Professional installers bring moisture testing equipment, grinders, and experience with fast-setting materials. They also typically offer a workmanship warranty. For slabs with moisture issues, extensive cracking, or previous coatings, professional installation is usually the safer choice.
Polyaspartic and Metallic Alternatives
Polyaspartic coatings cure faster than standard epoxy and can sometimes be returned to service in one day, but they cost more—roughly $8–$15 per square foot installed. Metallic epoxy systems create a marbled, high-end look and run $10–$20 per square foot, but they require more skill to apply evenly.
These systems still require the same prep and moisture-first approach. The chemistry changes, but the foundation does not.
Maintenance After Installation
Once cured, an epoxy garage floor should be cleaned with a soft broom or dust mop weekly and mopped with a neutral cleaner as needed. Avoid harsh solvents, abrasive scrubbers, and dragging heavy objects across the surface. Place mats under motorcycle kick stands and jack stands to prevent point loading.
Minor chips or scratches can be addressed with spot repairs, but widespread wear may require a maintenance topcoat. For more on upkeep, see our guide to epoxy garage floor maintenance.
Related Reading
If you are still deciding whether epoxy is right for your garage, start with our overview of epoxy garage floor vs. polyaspartic coating. For budget planning, see how much does epoxy garage floor cost and epoxy garage floor cost per square foot. If your floor already has damage, review epoxy garage floor repair before coating. For expected service life, see how long does epoxy garage floor last. For step-by-step DIY guidance, see diy epoxy garage floor.
Installation success depends on discipline during prep and patience during cure. A well-installed epoxy floor on a dry, sound slab can perform well for years; a rushed installation on damp concrete will fail no matter how expensive the product is.
Frequently asked questions
What is the first step in epoxy garage floor installation?
The first step is evaluating and preparing the concrete slab, including cleaning, repairing cracks, and testing for moisture before any coating goes down.
How long does epoxy garage floor installation take?
Most residential garage installations take two to five days from surface prep through final topcoat, plus cure time before parking vehicles.
Can I install epoxy over damp concrete?
No. Excess moisture vapor can cause blistering and delamination, so moisture testing and mitigation are required before coating.
Is diamond grinding necessary for every garage?
Not always, but mechanical profiling such as grinding or shot blasting is generally preferred over acid etching for long-term adhesion.
How much does professional epoxy garage floor installation cost?
Professional epoxy installation typically ranges from $5 to $12 per square foot, depending on slab condition, system type, and location.
When can I park on a new epoxy garage floor?
Light foot traffic is usually possible after 24 hours, but vehicle parking typically requires five to seven days of full cure.
Sources
Some links are affiliate links.If you buy through them we may earn a commission at no extra cost to you. We do not accept payment for rankings. Read the full disclosure.