DIY epoxy garage floor: what you can and cannot do
A DIY epoxy garage floor is realistic on a dry, sound slab with rented grinding gear. Moisture mitigation, structural repair and film control are not.
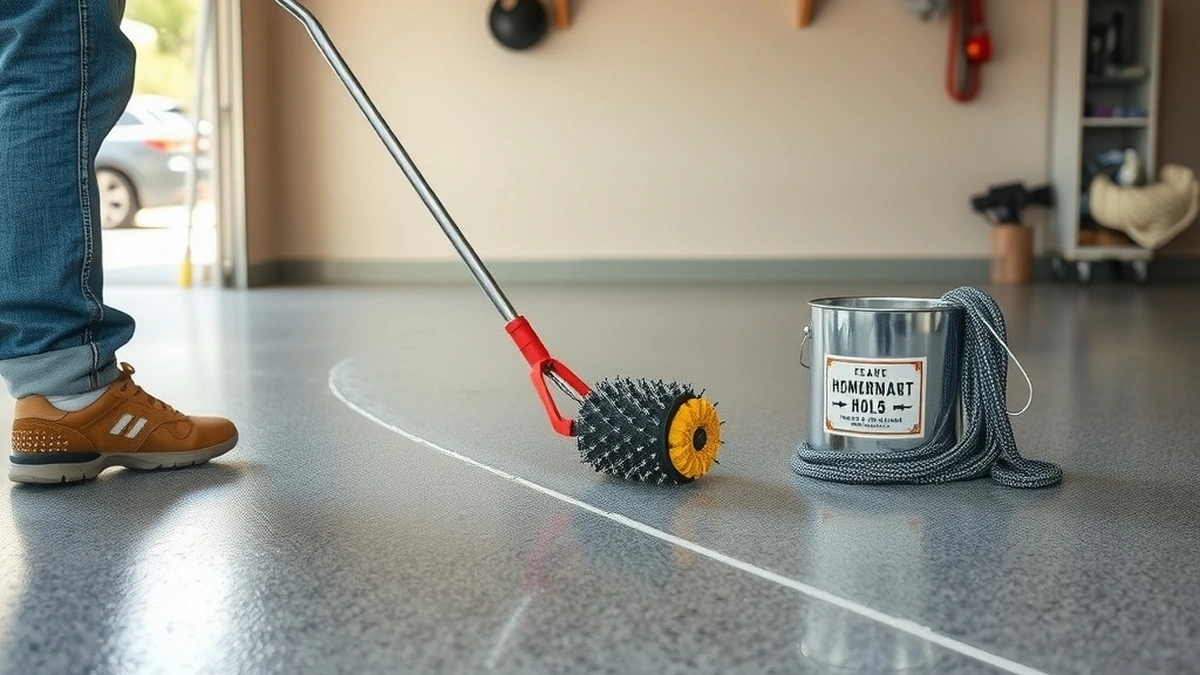
You can install a DIY epoxy garage floor yourself on a dry, sound slab — grind, prime, base coat, flake and topcoat — for $3-7 per sq ft in materials. You cannot fix slab moisture, spalling or structural cracks with a kit, and those are the jobs that need a contractor.
- DIY kit materials
- $3-7 / sq ft
- Professional epoxy
- $5-12 / sq ft
- Grinding
- $1-3 / sq ft
- Moisture mitigation
- $2-5 / sq ft
Some links on this page are affiliate links.If you buy through them we may earn a commission at no extra cost to you. We do not accept payment for rankings. Read the full disclosure.
A DIY epoxy garage floor is a realistic weekend project on a dry, sound slab that only needs a mechanical profile. Grind, vacuum, prime, roll the base coat, broadcast flake, then topcoat — the sequence is not complicated, and the materials run $3 to $7 per square foot. What a kit cannot do is fix a wet slab, rebuild spalled concrete or control film thickness across a 600 sq ft pour, and those limits are where most DIY failures begin.
What the coating is, and what it needs
A DIY epoxy garage floor kit is a packaged two-part resin system with a hardener, usually sold with a primer, color base and clear topcoat sized to a coverage area. It cures into a bonded film roughly 8 to 12 mils thick when applied as directed.
Every kit assumes the same starting condition: clean concrete, open pores, no sealer, no oil, and a moisture reading the product will tolerate. The resin does not care how much you paid for it. If the slab is wet or slick, the film will blister or delaminate, and the failure will look like a product defect when it is a prep defect.
What you can do yourself
- Measure and plan. Length times width, plus 10% for waste. Write the coverage rate on each kit and check it against your square footage before you buy.
- Test moisture. A calcium chloride kit or an in-situ humidity probe gives you a number to compare against the product’s stated limit. A taped-down plastic square is a rough screen, not a test.
- Grind the slab. A 10-inch diamond grinder with a dust shroud and a shop vacuum is a rental item most homeowners can run. Two passes at right angles gives a uniform CSP 3 to 4 profile.
- Crack and patch. Hairline cracks take an epoxy crack filler; small spalls take a patching mortar. This is cosmetic repair, not structural work.
- Apply the system. Primer, base coat, flake broadcast to rejection, then scrape and topcoat. Mix ratios are not negotiable, and neither is pot life.
- Control the cure. No water, no traffic, no junk stored on the floor for the full cure window.
What you cannot do, and should not attempt
Moisture mitigation is the first hard limit. A slab reading above the product’s limit needs a vapor-barrier primer system, and those are professional products with strict recoat windows — $2 to $5 per square foot, and easy to ruin. If your slab reads wet, a DIY topcoat will fail no matter how carefully you roll it.
Structural repair is the second. Spalling that exposes aggregate, settled slabs, active cracks that open and close with the seasons — those need assessment, not a tube of filler. Coating over a moving crack guarantees a reflected crack in the finish within a year.
Film control is the third. A 12-mil wet film across 600 sq ft is 7.2 gallons delivered at a constant rate, and holding that rate by hand around a water heater, a step and two door thresholds is harder than it reads. Thin spots fail first, and they fail at the tire path.
DIY versus professional, side by side
| Aspect | DIY | Professional |
|---|---|---|
| Materials and labor | $3-7 per sq ft, your time | $5-12 per sq ft, installed |
| Prep method | Rented grinder, your passes | Diamond grinder, dust extraction |
| Film control | Roller by eye | Notched squeegee plus back-roll |
| Moisture problems | Out of scope | Mitigation system available |
| Warranty | None | Typically 1-5 years, exclusions apply |
| Downtime | Your weekend, plus cure | 1-3 days, cure included |
The cost gap is narrower than the headline suggests. On 400 sq ft, a DIY kit at $3-7 costs $1,200 to $2,800 in materials. Add professional grinding at $1-3 per square foot, or $400 to $1,200, and the DIY total is $1,600 to $4,000. A full professional job at $5-12 runs $2,000 to $4,800. You are saving real money only if your labor and risk tolerance are genuinely free.
Time, temperature and pot life
Epoxy is a chemical reaction, not a paint that dries. At 70°F a typical 100% solids product gives 20 to 40 minutes of pot life, 12 to 24 hours before foot traffic and 3 to 7 days before vehicles. Drop the slab to 55°F and every one of those numbers stretches, blush becomes likely, and the second coat may not bond.
Plan the work around the weather, not the calendar. A 400 sq ft garage takes roughly four to six hours to coat once the slab is prepped, and the prep itself is the longer day. Two people is the right crew: one mixes and pours, one rolls.
Where DIY floors actually fail
Thin film at the tire path, dust left in the profile, sealer not fully removed, and coating applied over a slab that was still releasing moisture. All four look identical from standing height and all four are preventable with a moisture reading, a vacuum and a wet-film gauge.
The fifth is impatience. Parking on a floor that has not fully cured traps solvent, softens the film and leaves permanent tire marks. Seven days is a long wait; it is shorter than redoing the floor. If the coating has already lifted, epoxy garage floor repair explains what can be patched and what has to come off.
Six steps, in order
- Clear and clean. Empty the garage, sweep, then degrease any oil spots with a concrete cleaner and rinse until the water sheets evenly.
- Test moisture. Run the calcium chloride or RH probe test and write the result down next to the product’s limit.
- Grind and vacuum. Two perpendicular passes with a diamond grinder, then vacuum the floor and the walls before you open any resin.
- Patch and prime. Fill cracks and small spalls, let them cure, then apply the primer at the stated coverage rate.
- Base, flake, topcoat. Roll the base coat, broadcast flake while it is wet, scrape the excess after cure, then apply the clear topcoat.
- Protect the cure. Keep traffic off for the full window, and keep the garage above 60°F for the first 24 hours at minimum.
If the slab fails the moisture test, read epoxy garage floor cost for what mitigation adds, compare epoxy versus polyaspartic if sun exposure is a concern, and check garage floor epoxy kit before you buy a box sized for the wrong square footage.
Frequently asked questions
Can a beginner really install epoxy over a weekend?
Yes, on a slab that passes a moisture test and only needs grinding. Budget a full day for prep and grinding, then a day for coating with 12 to 24 hours between coats.
Can I skip grinding and just acid etch?
Only on a clean, open, unsealed slab, and even then it is a gamble. Grinding at $1 to $3 per square foot produces a far more reliable profile and removes old sealer at the same time.
How much epoxy do I need for a 400 square foot garage?
Work from the kit's coverage rate, not the floor area alone. A 400 sq ft floor usually needs two coats plus a topcoat, and flake broadcasts add waste, so buy roughly 10% more than the label math suggests.
What temperature does epoxy need?
Slab and air should stay at 60°F and rising for 24 hours before, during and after application. Below that, curing slows, amine blush appears and adhesion suffers.
Why did my DIY epoxy peel in patches?
Usually moisture, dust, or a coating applied too thin. Lifting patches shaped like tires point to hot tire pickup from a thin film or incomplete cure, not a bad batch of resin.
Is it cheaper to grind myself or hire it out?
Hiring grinding out costs $1 to $3 per square foot and removes the biggest DIY risk. On 400 sq ft that is $400 to $1,200, which is often less than the cost of fixing a failed floor later.
Sources
Some links are affiliate links.If you buy through them we may earn a commission at no extra cost to you. We do not accept payment for rankings. Read the full disclosure.