Epoxy installation: the full process
Epoxy installation is grinding, repairing, priming, coating and topcoating a slab over three to seven days. The sequence, the timing and the failure points.
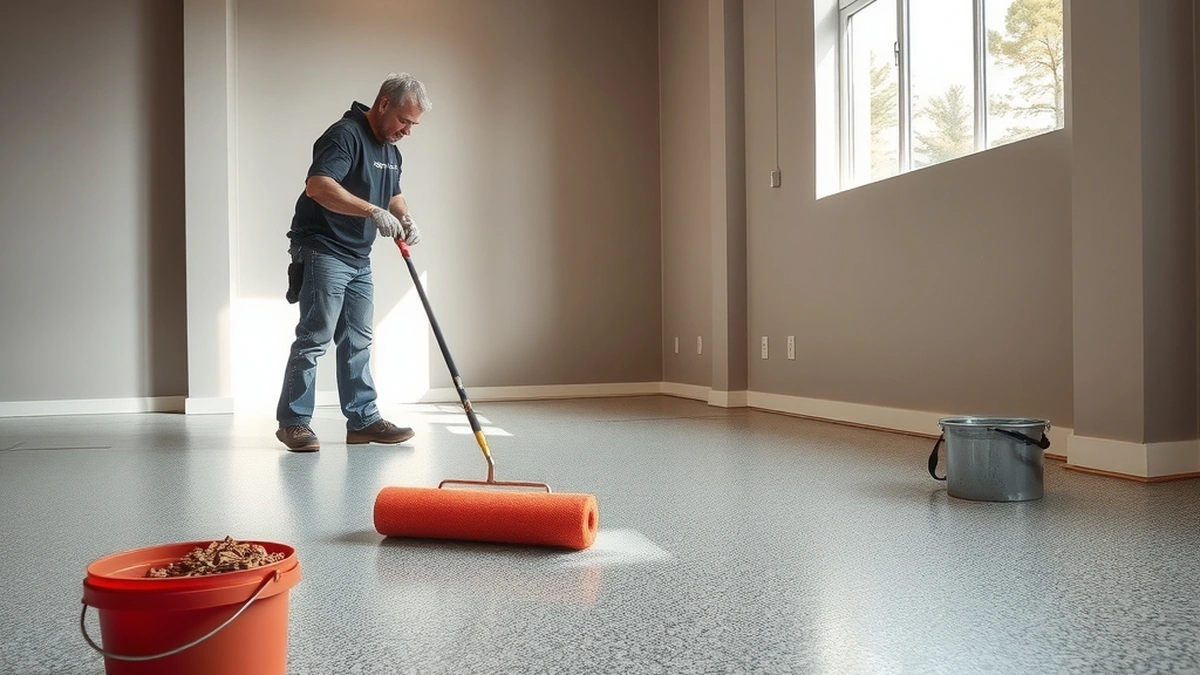
Epoxy installation is a five-stage sequence: grind the slab, repair defects, prime, apply a base coat with broadcast, then topcoat. A garage takes three to seven days including cure, and the grinding stage that costs $1 to $3 per square foot decides whether the floor lasts.
- Stages
- Five, in fixed order
- Grinding
- $1 - $3 per sq ft
- Installed rate
- $5 - $12 per sq ft
- Cure before driving
- 3 - 7 days
Some links on this page are affiliate links.If you buy through them we may earn a commission at no extra cost to you. We do not accept payment for rankings. Read the full disclosure.
Epoxy installation is a five-stage sequence — grind, repair, prime, base coat with broadcast, topcoat — completed over three to seven days on a typical garage. The stages cannot be reordered and none of them can be skipped. Most installation failures are not resin failures; they are a stage that was compressed, done wet, or done in the wrong temperature.
What epoxy installation involves
Epoxy installation is the process of preparing a concrete slab mechanically, correcting its defects, and applying a bonded resin system in layers that cure into a single seamless floor.
Two words in that definition carry the weight. “Mechanically” means grinding or shot blasting, not acid. “Layers” means the floor is a build, not a paint job, and each layer has a job: primer seals and bonds, base carries color and flake, topcoat takes the wear.
The stage-by-stage sequence
| Stage | Time | What happens | Failure if rushed |
|---|---|---|---|
| 1. Grind | Half a day to a day | Diamond grind, edge and vacuum | Coating lifts in sheets |
| 2. Repair | 2 - 24 hours | Route cracks, fill spalls, patch | Cracks telegraph through |
| 3. Prime | 4 - 12 hours | Roll a penetrating or epoxy primer | Base starves, pinholes appear |
| 4. Base and broadcast | 1 day | Roll base, broadcast flake to refusal | Thin spots wear first |
| 5. Topcoat | 1 day plus cure | Scrape, vacuum, roll clear coat | Traffic lane dulls early |
Stage 1 is where the money goes. Grinding at $1 to $3 per square foot is $400 to $1,200 on a 400 sq ft floor, and it is the line homeowners most want to remove from a DIY project. Removing it removes the bond.
Stage 2 is the one that varies most. A sound slab needs an hour of edge work. A slab with four working cracks and two spalled patches can absorb a full day, and the patch material has to cure before anything goes over it.
Conditions decide the outcome
Resin chemistry is sensitive to temperature and humidity in ways that are easy to ignore and expensive to discover.
Slab temperature. Most residential products want the slab between roughly 60F and 80F. A slab in the 50s slows the cure dramatically, and a cold slab can leave a floor that stays tacky for days.
Dew point. The slab needs to be at least 5F above the dew point. Below that, moisture condenses on the surface and the coating bonds to water instead of concrete.
Humidity. High humidity accelerates amine blush on epoxy and can dull a clear coat. Low humidity speeds the pot life and shortens the working window.
Sun and wind. Both skin over a rolled coat before it levels. A garage with the door open on a windy day produces a textured finish that no amount of rolling fixes.
Measure the slab, not the air. An infrared thermometer is the cheap tool that prevents the most common weather-related failure.
DIY versus contracted installation
The rate gap between the two is smaller than most homeowners expect, and the reason is what the DIY number actually includes.
| Factor | DIY | Contracted |
|---|---|---|
| Materials | $3 - $7 per sq ft | Included |
| Grinding | Rented, often self-performed | Included at $1 - $3 per sq ft |
| Total on 400 sq ft | $1,200 - $2,800 | $2,000 - $4,800 |
| Time | 3 - 5 days of your labor | 1 - 3 days on site |
| Warranty | None | Varies by contractor |
| Main risk | Prep and timing errors | Poor workmanship, weak spec |
The DIY budget at $3 to $7 per square foot already includes a rented grinder, primer, flake and topcoat. What it does not include is experience with wet edges, pot life and broadcast density — the three skills that separate a floor that lasts from one that peels at the door.
A contractor’s $5 to $12 per square foot is $2,000 to $4,800 on 400 sq ft. The difference at the low end is about $800, which is roughly the cost of one failed DIY attempt in materials alone.
Where installations fail
Four failures account for most of the complaints, and each has a specific stage.
Delamination starts at stage 1. A weak profile, a sealer left in place or oil in the pores means the coating never bonded. It shows as sheets lifting with chalky dust underneath.
Blistering starts at stage 3 or earlier. Vapor from the slab pushes through the film. A moisture test before the job and a primer that tolerates the slab are the prevention.
Hot tire pickup starts at stage 5. A thin topcoat or no topcoat at all means warm rubber can stick and lift. A polyaspartic clear at the top of the build resists it best.
Color drift and ambering start at stage 5 too, but only where sunlight reaches the floor. Epoxy clear coats are not UV stable; polyaspartic is.
The six steps to run the job
- Clear and clean the garage. Everything out, floor swept, oil spots degreased and rinsed.
- Test moisture and temperature. Record slab readings and the dew point before any material is opened.
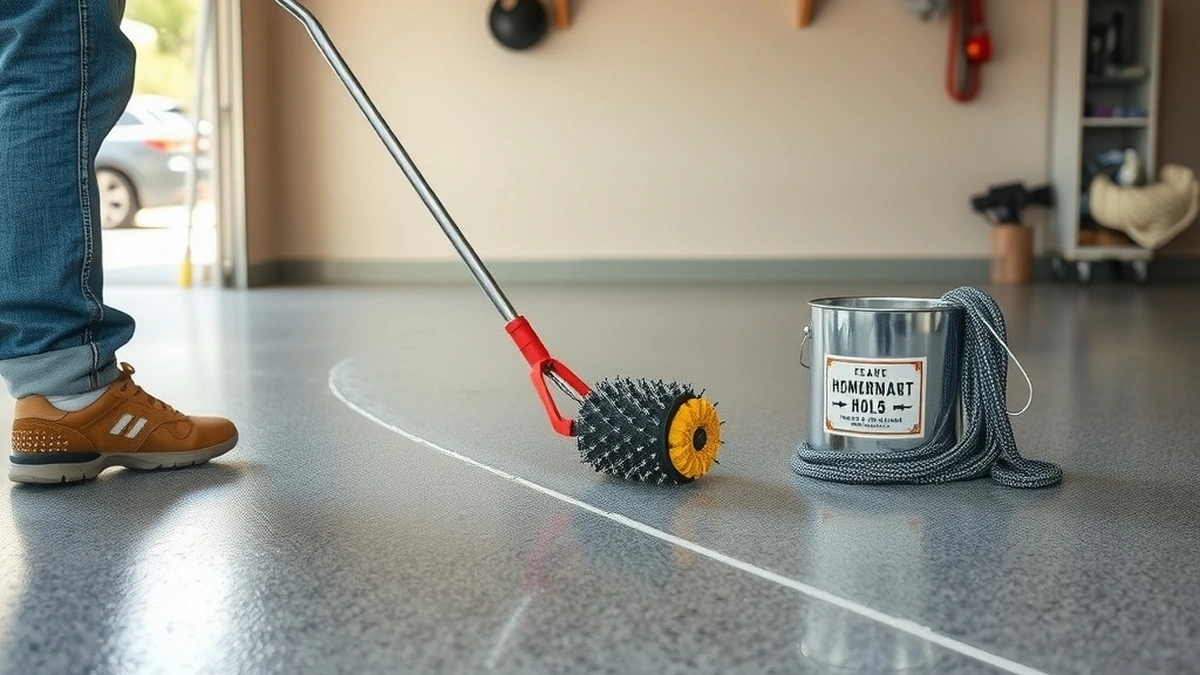
- Grind the full slab. Edges, corners and under the door, with a dust shroud and vacuum.
- Repair and cure. Route cracks, fill spalls, and let patches harden for the full interval on the data sheet.
- Prime, base and broadcast. Work in sections, keep a wet edge, and broadcast flake to refusal rather than sprinkling.
- Scrape, vacuum, topcoat and cure. Scrape the loose flake, vacuum twice, roll the clear coat, then stay off the floor for the full cure.
For the contractor-facing version of the same sequence, epoxy garage floor installation covers scheduling and site protection. DIY epoxy garage floor lists the tools a homeowner actually needs, and epoxy garage floor topcoat explains which clear coat to specify at stage 5.
If you are choosing between flake and a solid color at the broadcast stage, flake broadcast vs epoxy compares the two finishes on cost, hide and repair.
Frequently asked questions
How long does epoxy installation take?
Three to seven days for a standard epoxy system on a residential garage, including cure. A polyaspartic topcoat can compress the schedule to about 24 hours before light traffic.
What temperature does epoxy need to cure?
Most residential epoxy products want the slab and the air between roughly 60F and 80F, with the slab at least 5F above the dew point. Cold slows the cure and can leave a floor that never hardens.
Can I install epoxy over a sealed garage floor?
No. A sealer blocks the mechanical bond and the coating will lift. The sealer has to be ground off, which is part of the prep stage and part of the reason grinding is priced separately.
How many coats does an epoxy floor need?
At least a primer, a base coat and a topcoat. A single coat of color is a thin system that wears through in the traffic lane, and most product data sheets specify a build rather than one pass.
Do I need to etch the concrete before epoxy?
Etching is a poor substitute for grinding. Acid etch creates a chemical profile that is uneven on a troweled slab, and it leaves residue. Diamond grinding gives a uniform mechanical profile that coatings bond to.
Why did my epoxy installation bubble?
Usually moisture or outgassing. A slab passing vapor pushes gas through a curing film, and warm concrete can release air as the coating seals it. A moisture test and a primer coat are the prevention.
Sources
Some links are affiliate links.If you buy through them we may earn a commission at no extra cost to you. We do not accept payment for rankings. Read the full disclosure.