How to Install Metallic Pigment in Epoxy Coatings
A practical guide to installing metallic pigments in garage floor epoxy coatings.

Metallic pigment installation requires proper preparation, accurate pigment-to-resin ratios, and consistent stirring. Follow the manufacturer's mixing instructions exactly to avoid streaks or dull patches.
- Typical range
- Varies by system and site
- First step
- Measure the space and confirm the load
- Professional help
- Recommended for structural or electrical work
Some links on this page are affiliate links.If you buy through them we may earn a commission at no extra cost to you. We do not accept payment for rankings. Read the full disclosure.
Metallic pigment installation transforms a standard garage floor into a high-gloss, metallic-looking surface, but it requires precise steps. The process involves mixing fine metallic flakes or powders directly into the epoxy resin before pouring. Unlike clear metallic coatings that rely on transparent resins, true metallic pigment installation means physically incorporating metallic particles into the coating matrix. This provides a durable, reflective finish that resists chipping and scratching, but it demands exact ratios and thorough preparation to prevent streaks or dull patches. Patience during this process yields the best visual result.
Understanding Metallic Pigment vs. Clear Coating
When comparing clear metallic flakes to pigment-based metallic installations, the difference lies in how the light interacts with the floor. Clear metallic flakes sit on the surface and reflect light outward, creating a shiny but sometimes flat appearance. Metallic pigment, on the other hand, distributes light through the resin matrix itself. Because the pigment is suspended throughout the coating rather than sitting on top, the floor exhibits a deeper, richer, and more dimensional shine. However, this richer finish comes at the cost of a more complex installation process, requiring careful handling of heavy materials and strict adherence to mixing ratios.
Concrete Preparation and Moisture Control
The success of metallic pigment installation begins long before the resin is mixed. Unprepared concrete will reject the metallic pigment, causing it to peel or craze over time. You must first grind the concrete to expose the aggregate beneath the surface. This grinding process typically costs an estimated $1 to $3 per square foot. For a 100 square foot section, the grinding cost would be $100 to $300. Additionally, you must address any moisture issues. Epoxy cannot cure properly on a damp surface, and high humidity can cause the metallic pigment to blush or lift. Moisture mitigation typically runs $2 to $5 per square foot, adding another $200 to $500 to your project budget. Always use a pin moisture meter to verify the concrete is below the acceptable threshold before proceeding with the epoxy application. For more details on the initial prep steps, refer to our guide on epoxy garage floor installation.
Mixing Resin and Metallic Pigment
This is the most critical phase of the metallic pigment installation. Adding metallic pigment to epoxy resin is not like mixing food coloring; the ratio must be exact. Most manufacturers recommend a 1:3 or 1:4 ratio of pigment to resin by volume. Using a dedicated heavy-duty mixing paddle, slowly pour the metallic pigment into the resin while continuously stirring. Over-mixing can introduce air bubbles, which become trapped under the heavy metallic flakes and cause dull spots later. Under-mixing leaves pockets of clear resin underneath the pigment, resulting in uneven coloration. To illustrate, if you are mixing 2 gallons of resin and using a 1:4 ratio, you will need approximately 0.5 gallons of metallic pigment concentrate. Stir the mixture for a minimum of two minutes to ensure a uniform distribution of the metallic flakes throughout the liquid resin. Never use a standard drill bit, as the vibration will damage the delicate pigment particles.
Pouring and Spreading the Coating
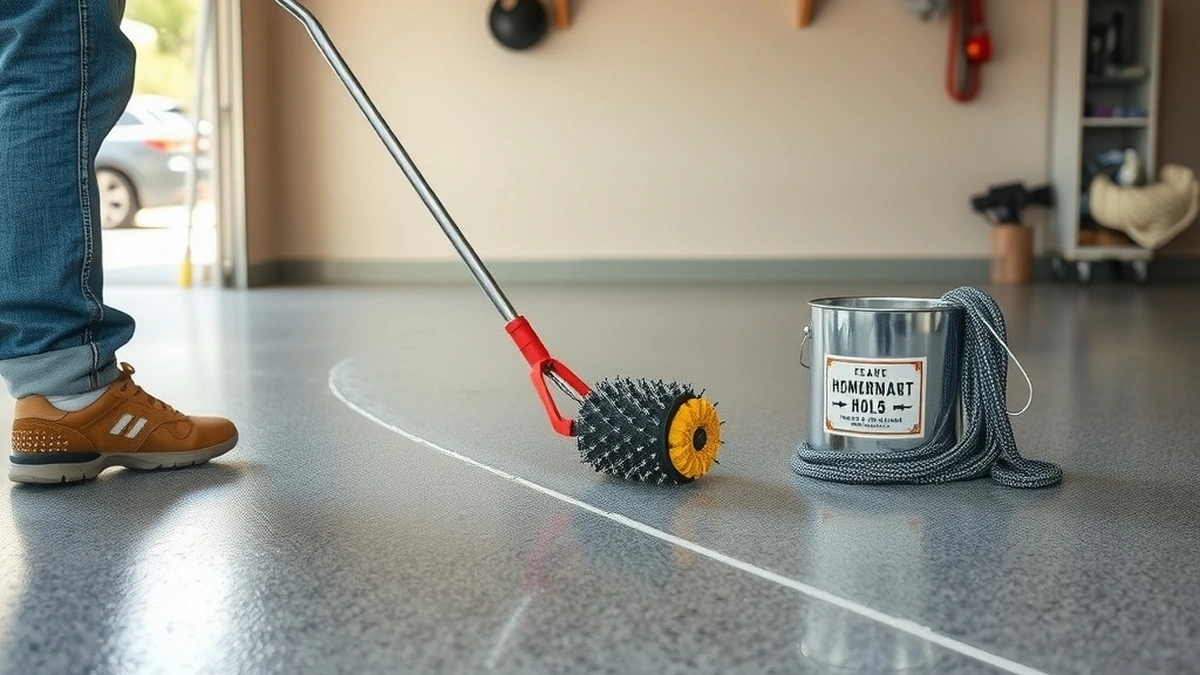
Once the resin and pigment are thoroughly blended, the mixture must be poured onto the prepared concrete. It is best to pour in small sections—typically five by five feet—to keep the work manageable and reduce the chance of visible seams. Immediately after pouring, use a wide rubber squeegee or a trowel to spread the coating evenly across the section. Work from the center outward, dragging the tool in smooth, overlapping strokes. This technique helps push any trapped air bubbles toward the surface, where they can be popped with a heat gun or torch just after the pour. Avoid pressing down too hard with the trowel, as this can embed the heavier metallic flakes too deeply into the wet resin, leading to an uneven top surface once cured. Maintain a consistent pour thickness of roughly one quarter inch to ensure adequate coverage and hiding power.
Curing and Final Inspection
After spreading, the epoxy needs time to cure. The manufacturer’s cure schedule dictates when the floor becomes walkable and when it reaches full hardness. Typically, this takes anywhere from 24 to 72 hours depending on the specific resin system and ambient temperature. During this window, keep vehicles and heavy equipment off the floor. Once the curing period ends, perform a final inspection. Look closely at the surface under direct light to check for any remaining streaks or dull patches caused by poor mixing or inadequate spreading. If any areas appear uneven, you can apply a thin additional coat of the same metallic pigment mixture to blend the discrepancies. Maintaining a steady room temperature during this phase prevents the resin from expanding or contracting unevenly.
Cost Breakdown for Metallic Pigment Installation
Understanding the financial requirements of metallic pigment installation helps you set realistic expectations. Let us assume a project covering 150 square feet of garage floor. First, calculate the concrete grinding cost, which runs $1 to $3 per square foot. For 150 square feet, this totals $150 to $450. Next, account for moisture mitigation, which costs $2 to $5 per square foot, adding $300 to $750. Finally, the metallic epoxy coating itself carries a price tag of $10 to $20 per square foot, meaning the coating alone will cost $1,500 to $3,000. The total estimated cost for this 150 square foot project ranges from $2,150 to $4,200 before labor. To get a broader perspective on garage floor coating expenses, you can read our article on how much does an epoxy garage floor cost.
Common Mistakes to Avoid
Even with careful planning, DIYers often make errors that ruin the metallic finish. Here are the most common pitfalls to watch out for:
- Skipping the concrete grind: Relying on existing concrete texture causes the pigment to sit unevenly and peel.
- Ignoring moisture levels: Applying epoxy to damp concrete guarantees failure and expensive removal costs.
- Under-mixing the pigment: Failing to blend the pigment thoroughly results in streaky, patchy color.
- Pouring too large a section: Pouring massive sections makes it impossible to spread the coating evenly before the resin sets.
By strictly adhering to these methods and respecting the material properties of metallic pigment, you can achieve a stunning, durable garage floor. For further assistance or to compare different coating options, visit our page detailing epoxy garage floor cost per square foot.
Next, compare how much does epoxy garage floor cost, epoxy garage floor installation, epoxy garage floor repair before you commit.
Frequently asked questions
What is the most important measurement?
Start with the ceiling or clearance number; it decides which systems can fit.
What does a typical project cost?
Costs vary by system and site access; the guide shows the line items and a planning range.
Can I install this myself?
Some tasks are DIY-friendly, but structural, electrical, and load-bearing work should be done by a licensed professional.
How long does installation take?
A simple setup is a weekend; a full build with electrical or structural work can take several weeks.
What should I check before buying?
Confirm dimensions, load ratings, and the manufacturer's installation requirements for your exact model.
Where can I find local help?
Ask a licensed contractor or installer who has worked with the same system and can inspect your site.
Sources
Some links are affiliate links.If you buy through them we may earn a commission at no extra cost to you. We do not accept payment for rankings. Read the full disclosure.