Polyaspartic installation: sequence and timing
Polyaspartic installation is mostly prep and scheduling: grind, test moisture, then hit recoat windows measured in hours, not days, before it gels.
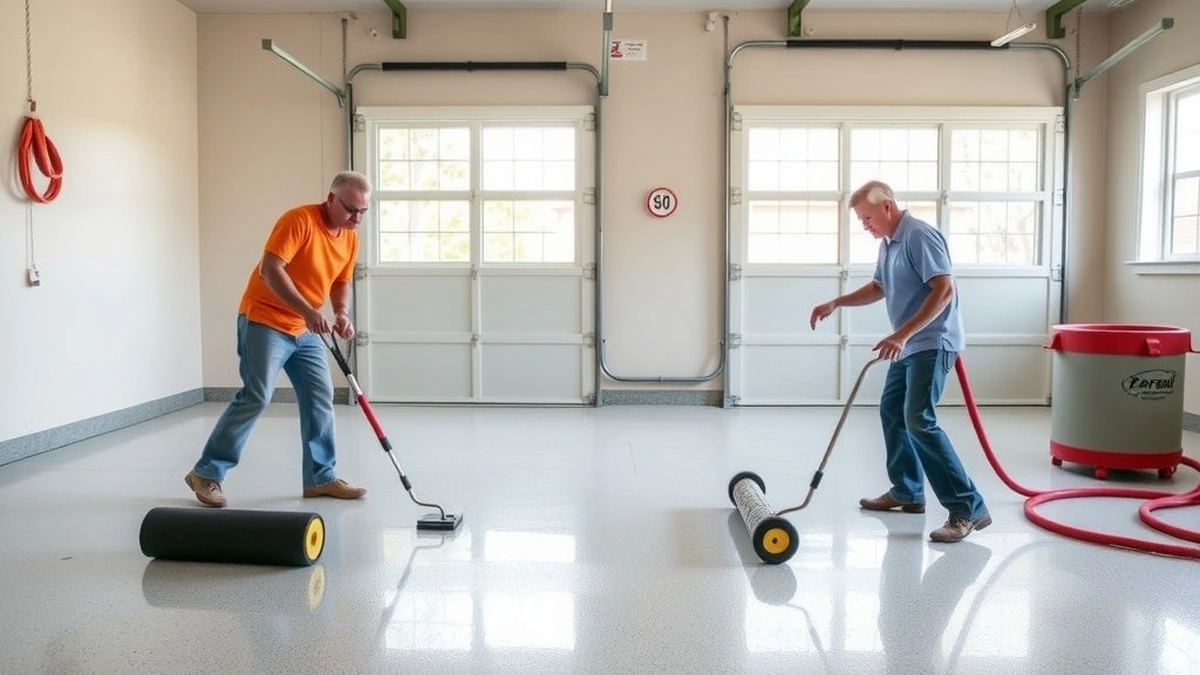
Polyaspartic installation is a grind-and-coat sequence finished in one day: diamond grind at $1-3 per sq ft, prime, roll an epoxy base with flake, then apply the polyaspartic topcoat inside its recoat window. The system costs $8-15 per sq ft installed.
- System cost
- $8-15 / sq ft
- Grinding
- $1-3 / sq ft
- Typical pot life
- 10-20 min
- Vehicle traffic
- About 24 hours
Some links on this page are affiliate links.If you buy through them we may earn a commission at no extra cost to you. We do not accept payment for rankings. Read the full disclosure.
Polyaspartic installation is a one-day job built on a week of preparation, and the order matters more than the product. The slab gets ground, tested and repaired first; a primer and an epoxy base coat with flake follow; the polyaspartic topcoat goes on last, usually within a few hours of the flake, while the base is still inside its recoat window. Get the sequence right and the floor takes traffic in about a day. Get it wrong and the fast cure turns a small mistake into a sanding job.
What gets installed, layer by layer
A polyaspartic floor is a coating system, not a single product: a prepared concrete slab, a primer, a color base coat, a decorative flake broadcast, and an aliphatic polyurea topcoat that carries the wear.
Each layer has a job. The primer seals and promotes adhesion. The epoxy base builds film and holds the color and flake at a lower material cost than polyaspartic would. The flake hides imperfections and adds texture. The polyaspartic topcoat provides UV stability, abrasion resistance and a fast return to service, which is the property the whole system is sold on.
That is why the installed rate is $8 to $15 per square foot rather than the price of one bucket. On a 400 sq ft garage the total is 400 × $8 = $3,200 at the low end and 400 × $15 = $6,000 at the high end, and only the last of those layers is polyaspartic.
Prep decides the result
Grinding is the step that separates a floor that lasts from a floor that peels, and it is priced openly at $1 to $3 per square foot. On 400 sq ft that is 400 × $1 = $400 to 400 × $3 = $1,200, and it is not optional.
| Prep step | What it does | Common failure if skipped |
|---|---|---|
| Moisture test | Confirms the slab is dry enough to coat | Bubbles, blisters, coating lifting in sheets |
| Diamond grind | Opens the surface and removes contamination | Delamination within a season |
| Crack and spall repair | Fills and bridges defects | Cracks telegraph through the finish |
| Oil and grease removal | Removes bond breakers | Fish eyes and bare patches |
| Vacuum and tack | Removes grinding dust | Dust trapped under the primer |
A slab that fails a moisture test needs mitigation at $2 to $5 per square foot, which is $800 to $2,000 on 400 sq ft. That is the single biggest swing in the budget, and it is decided before any coating is opened.
Timing: the recoat windows
| Stage | Typical window | What happens if you miss it |
|---|---|---|
| Primer to base coat | 4-12 hours | Abrade the primer before the base goes on |
| Base coat to flake | While wet, immediately | Flake will not embed and sits loose |
| Flake to topcoat | 4-24 hours | Sand the flake, which dulls it, or risk poor bonding |
| Topcoat to foot traffic | 8-12 hours | Finish scuffs and picks up debris |
| Topcoat to vehicle traffic | About 24 hours | Tire marks and possible film damage |
These windows come from product data sheets and they move with temperature. A 60°F slab stretches every number; an 85°F slab compresses them. Read the sheet for the actual product on site rather than trusting a rule of thumb.
Working with a 10 to 20 minute pot life
The pot life is the working time after the two components are mixed, and for polyaspartic it is short: 10 to 20 minutes at 70°F is common, against 20 to 40 minutes for a typical epoxy.
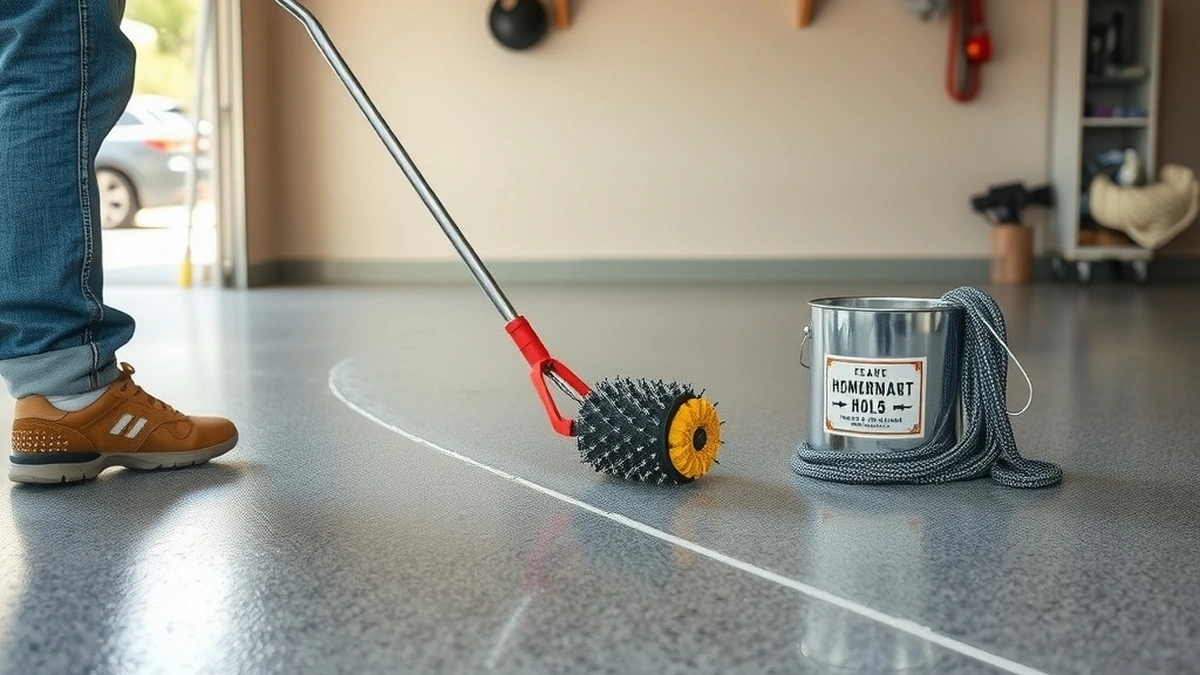
That changes how the job is staffed. One person mixing and rolling alone will lose a batch mid-floor. The practical approach is a mixer and a roller working as a pair: mix a batch, hand it off, roll it out immediately, then mix the next. Keep batches small enough to be applied inside the pot life, and never mix a second batch into a bucket that already contains gelled material.
Cut in the perimeter first with a brush, then roll the field in overlapping passes, and keep a wet edge. On a fast product the wet edge is the difference between a seamless floor and a visible line that will not buff out.
Temperature, humidity and dew point
Polyaspartic tolerates cold better than epoxy, and many products list application down to about 35°F. Cold slows the reaction, which stretches recoat windows and can leave a soft film that takes longer than a day to accept traffic.
Heat is the other direction. Above roughly 85°F the pot life shortens sharply and the material can skin in the bucket before it reaches the floor.
Humidity matters for a different reason. Polyaspartic is less sensitive to moisture during cure than a moisture-cured urethane, but a slab near the dew point will sweat, and coating over condensation is coating over a bond breaker. Measure slab temperature and dew point before the first batch is mixed.
The six-step sequence
- Clear and protect. Empty the garage, mask the walls and stem wall to the intended line, and cover anything that stays.
- Test and repair. Run a moisture test, grind the slab at $1 to $3 per square foot, fill cracks and spalls, and vacuum the dust.
- Prime. Roll the primer at the manufacturer’s coverage and let it reach the recoat window.
- Base coat and flake. Apply the epoxy base, then broadcast flake to rejection while it is still wet, working backward toward the door.
- Scrape and vacuum. Scrape the loose flake, vacuum the floor, and check for thin spots before the topcoat goes down.
- Topcoat. Apply the polyaspartic in one or two passes inside the recoat window, then keep the garage closed to traffic for the cure.
What goes wrong in the first hour
Most polyaspartic failures are decided in the first hour, and most of them are applicator errors rather than product defects. A batch left in the bucket too long gels and gets poured anyway. A roller left stationary leaves a ridge. A lap joint crosses a cured edge and shows forever. Flake broadcast too thin leaves a bald patch that the clear topcoat will highlight rather than hide.
Two habits prevent most of it: mix small batches and never work alone on a fast system. If a batch does start to gel, discard it. Thinning it or pouring it fast produces a floor you will be repairing within the month, and polyaspartic problems lists what those repairs look like.
For the slower, more forgiving version of this job, read epoxy garage floor installation. Flake broadcast vs epoxy covers the decorative layer in detail, and polyaspartic cost breaks down what each stage contributes to the invoice. If you are weighing doing it yourself, DIY epoxy garage floor is honest about which steps are worth outsourcing.
Frequently asked questions
How long does a polyaspartic floor take to install?
Most residential systems are installed in a single day: grinding and repair in the morning, primer and base coat with flake around midday, and the polyaspartic topcoat a few hours later. The floor usually takes vehicle traffic in about 24 hours.
Why does polyaspartic have such a short pot life?
The chemistry reacts quickly by design, which is what allows same-day installation and a fast return to service. At 70°F many products gel in 10 to 20 minutes, so a two-person crew working in sequence beats one person working alone.
Can polyaspartic go directly on bare concrete?
Some systems are sold that way, but most residential installations use a primer and an epoxy base coat first. The base carries the color and film build at a lower material cost, and the polyaspartic becomes the wear layer on top.
What temperature does polyaspartic need?
Many products tolerate slab temperatures down to about 35°F and cure faster as it warms, but the data sheet governs. Cold slows the reaction and stretches recoat windows; heat shortens pot life and can trap solvent or air.
How soon can I recoat polyaspartic?
Typically within 4 to 12 hours, and often sooner, depending on the product and temperature. Miss the window and the film cures hard enough that the next coat needs abrasion to bond, which is a job you do not want on a flake floor.
Do I need to grind the concrete first?
Yes, unless the slab is new and the manufacturer specifies a different profile. Grinding at $1 to $3 per square foot opens the surface and removes sealer, curing compound and contamination, and no coating bonds reliably without it.
Sources
Some links are affiliate links.If you buy through them we may earn a commission at no extra cost to you. We do not accept payment for rankings. Read the full disclosure.